Restore your antique lights Go Back
Author: Marisan Hallett Date: 27 September 2022

Restoration takes time and patience. Giving life back to an antique piece, whether it is light fittings, furniture or jewellery is very rewarding, and gives honour to the artistry.
Before starting the restoration, be sure to document where all the parts fit for reassembling and do your research - if you know the material the piece is made of you will know how to clean and restore it.
-
Glass
Glass parts can be cleaned with water and dish soap provided they do not have finishes or decorative paint on them. Rinse under running water and buff with a soft cloth. Do not use paper towels as this may scratch the surface.
-
Metal
Many 20th century light fittings were made of brass with a lacquered finish. These can be cleaned with dish soap and water. After cleaning, wipe the fitting with a soft non-abrasive cloth and polish or buff with a metallic wax or tungsten oil for steel and cast-iron fittings.
-
Patina surfaces
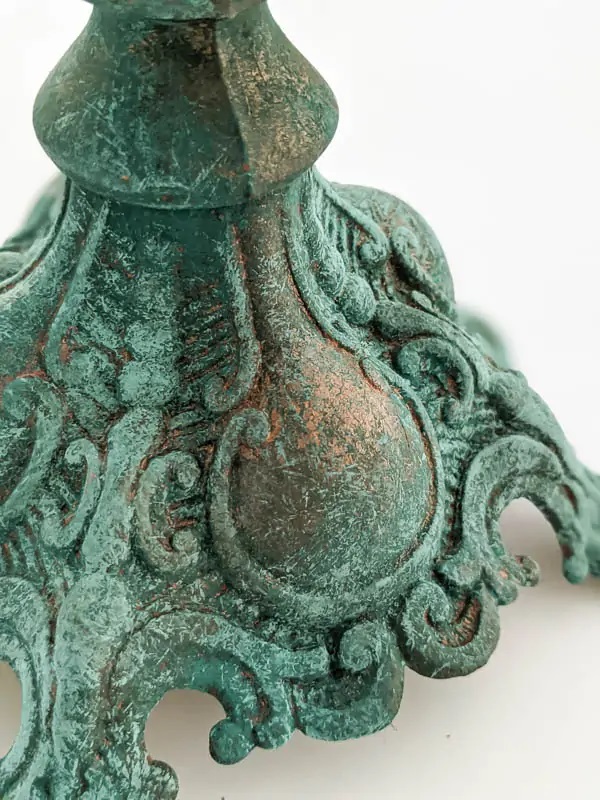
Patina is the green film that forms on some metals when they react with oxygen in the air. Use a soft paintbrush to brush away dirt. Use a soap and water mixture (avoid soap that contains chlorine) and gently wipe down the piece. Rinse and dry immediately. If you want to remove the patina, you can use brass, copper, or bronze cleaner. If you want to update the fitting instead of restoring it, you can consider paint, matte, or glaze finishes. You can re-plate your fitting, but this is very costly and subject to strict environmental rules.
-
Polychrome finishing and painted surfaces
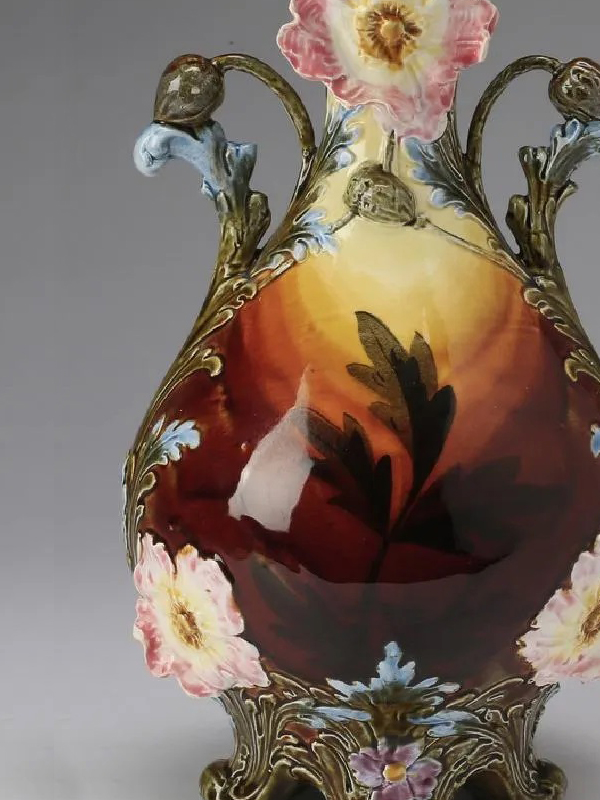
Polychrome are known for its vivid colors and artistry which is created by layering multiple materials such as paint, gesso, varnish, and metallic gilding, creating an attractive and expensive look. The 1920s and 30s fittings were typically a hand-rubbed polychrome finish and painted finishes became popular after WWII. In the 1950s the latest and more durable airbrushing techniques and finishes were used. It is best to clean these types of fittings using a swab or cotton balls. On the other hand, if you want to remove paint that has been applied to the original surface, use paint thinner and use a utility brush and with small circular motions brush the surface until all the paint has been removed. Wash with warm water and mild dish soap to ensure all the paint thinner has been removed. Once properly dried, you can finish it off with a lacquer finish or re-paint.
Get a qualified electrician to assess and rewire your fitting to meet today’s standards and consider changing to LEDs. They come in a few varieties of light with dimmable hues that will create ambience for your antique light.
Unlike your old bellbottoms, you can give your antique light new life. Whether it’s a thrift store find or the original fitting in your home, restoring your antique light is something you can proudly show off.